Graphic window and visualization control
The main part of the screen takes graphics window. It can display such objects as geometric models, machine, workpiece, the toolpath of operations, etc. It is possible to group several views in one graphic window.
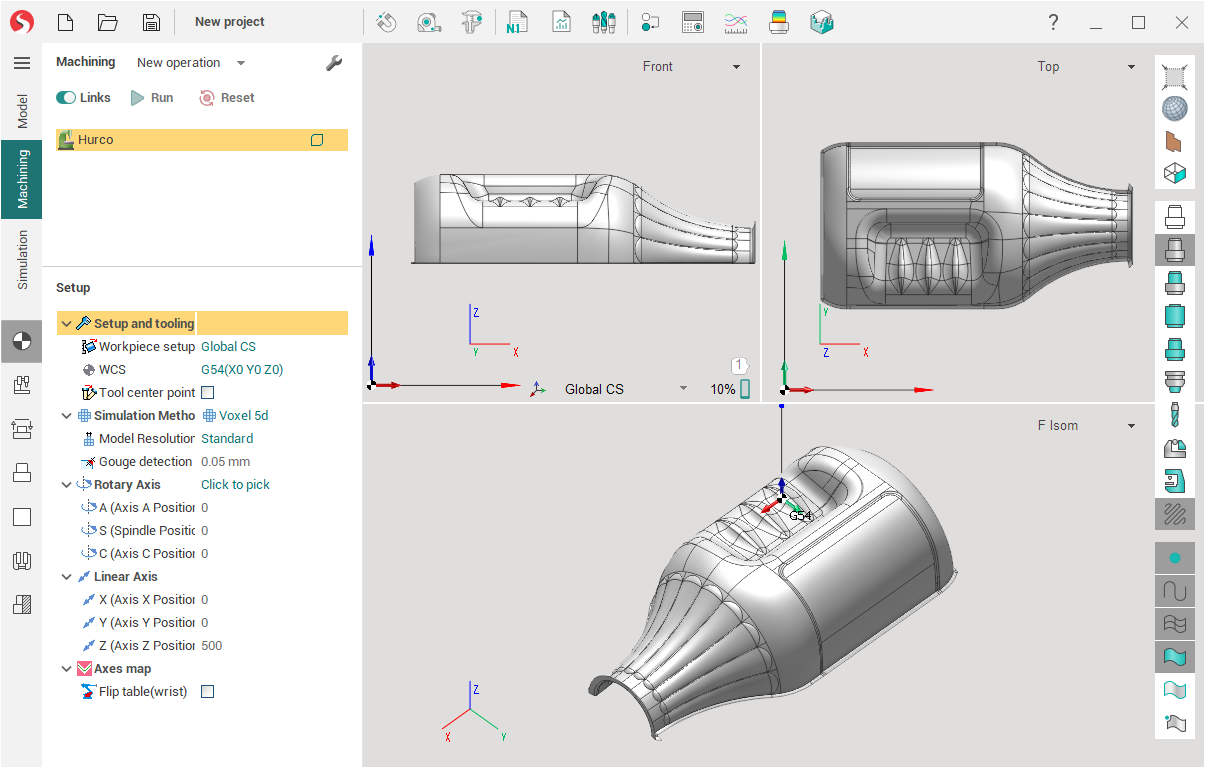
To add new view needed to click on  panel on right up angle of the window and select <New view> from menu (or use View submenu inside popup menu of the graphics window). Active view can be closed from this menu too. Some visualization control hotkeys can be changed in <System settings> window on <Visualization> tab.
The visualization parameters can be changed on the View control toolbar on the right side of the main window or via the pop-up menu of the graphic screen:
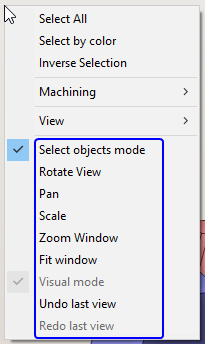
The first four elements switch the action performed by the left mouse button:
Select objects mode. Left-click will select objects from the screen (this is the default state).
Rotate view. Moving the mouse while pressing the left button will rotate the view.
Pan. Moving the mouse while pressing the left button will shift the view.
Scale. Moving the mouse while pressing the left button will scale the view.
However, all these actions can be easily performed without switching the mode. To rotate the view, move the mouse with the right button pressed. To shift the view, move the mouse while pressing the middle button. Rotate the mouse wheel to zoom. There are additional methods to change the view using hot keys. See child topics: Window zoom, Interactive rotate, Interactive pan, Interactive zoom in-out, Zoom extents.
For quick scaling to display all visible objects use this  button or Fit window menu item.
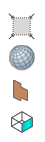
There are several standard views that are switched by these buttons ![]() (the exact appearance of the button depends on the type of machine).
(the exact appearance of the button depends on the type of machine).
Use the Undo / Redo last view menu items to quickly return to the previous / next view.
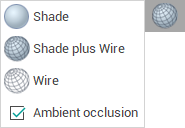
The button with the drop-down menu in the figure above allows you to switch the display mode of three-dimensional objects: Shade - shaded without edges, Shade plus Wire - shaded with edges and Wire - edges only. Clicking on the button itself toggles these modes alternately.
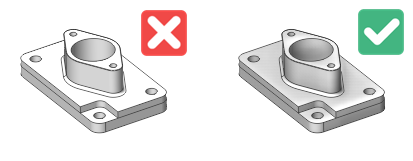
Ambient occlusion is a shading and rendering technique used to calculate how exposed each point in a scene is to ambient lighting . See example below.
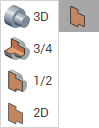
The button above defines a visualization mode for revolution bodies only: 3D, 3D without a quarter, half of 3D and 2D axis section.
See also: