Drawing example
Let's look at the construction using this drawing as an example:
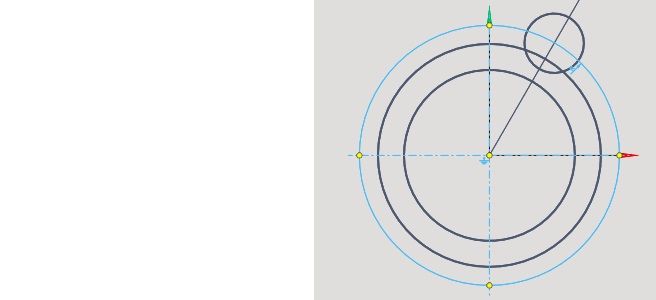
Press the button for drawing a circle ![]()
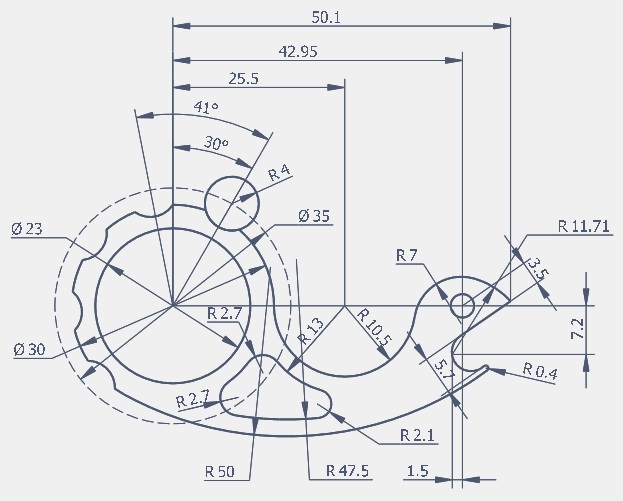
In the inspector, enter coordinates 0, 0 and radius 23.

In the same way, we build the following circle:
And the third, after pressing [Alt + 2] to switch the line type:

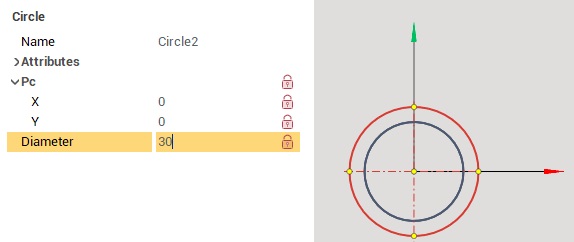
Next, switch to the line construction mode. 
Specify the first point in the center of the circles, then drag it outside the third circle, and in the inspector enter an angle of 60°:
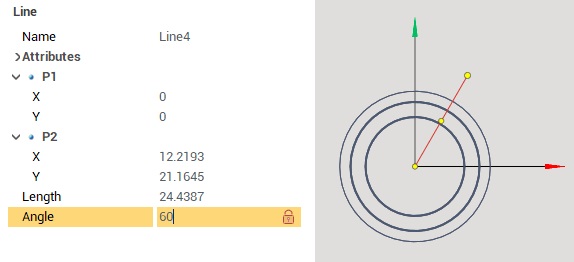
Switch back to the circle construction mode, press [Alt+1] to return to the main line construction mode, specify the intersection point of the segment and the third circle as the center, press the [R] key to switch to the radius input mode and enter 4:
Press the [Esc] key or release the circle creation button to exit this mode. We highlight the segment we no longer need and press the [Del] key to delete it, then delete the outer circle:
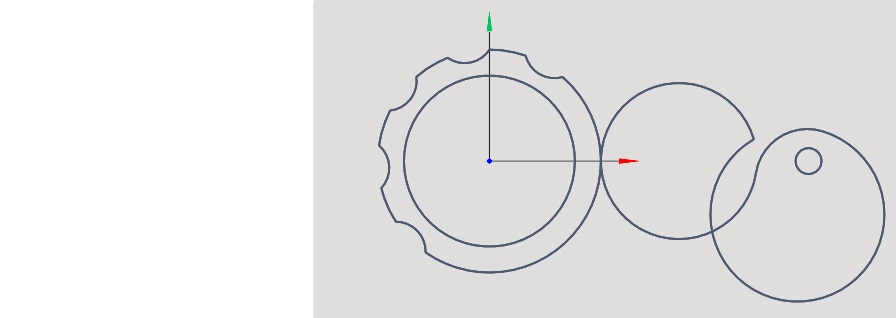
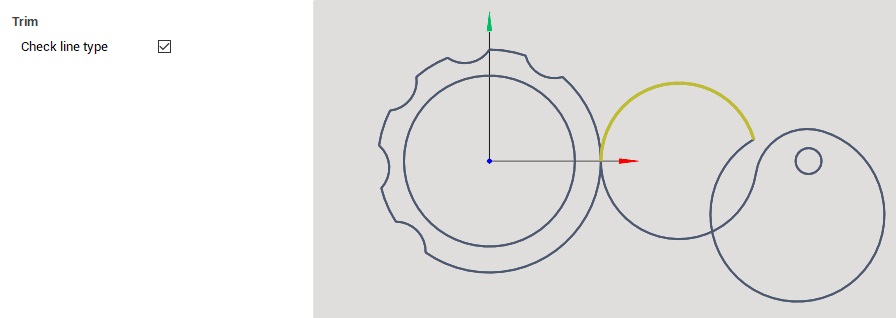
Switching to trimming mode  and delete the unnecessary part of the circle:

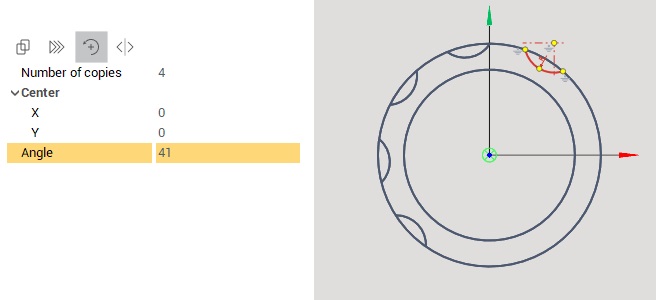
Select the resulting arc, switch to the object rotation mode
Move the rotation center to the center of the circles, enter 4 in the [Number of copies] field, and 41° in the [Angle] field:
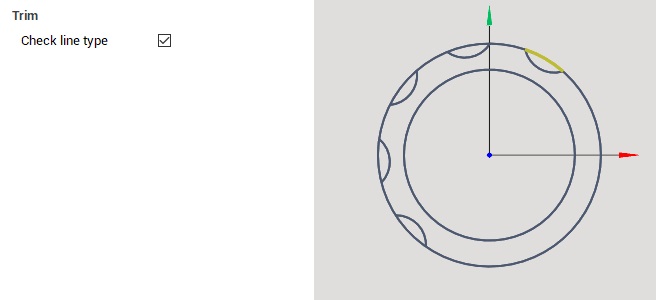
Next, turn on the trim function
and sequentially remove unnecessary sections:
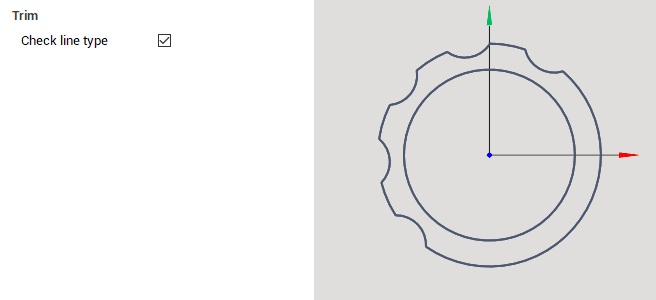
As a result, we get this figure:
Turn on the construction of the circle again and enter the following values:
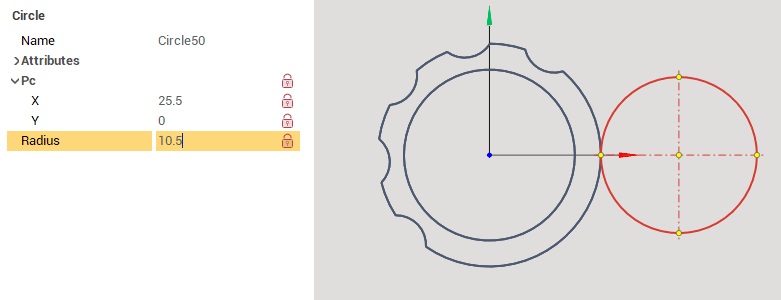
And the following circle:
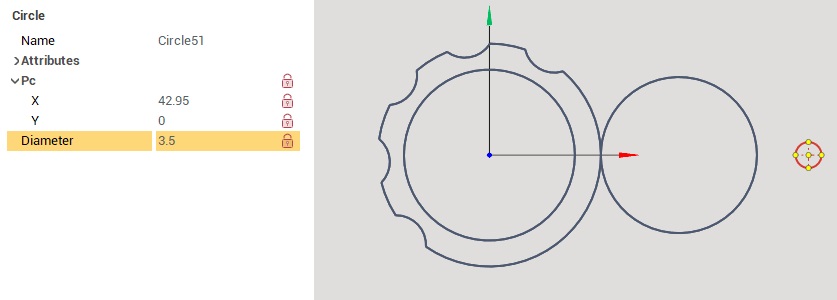
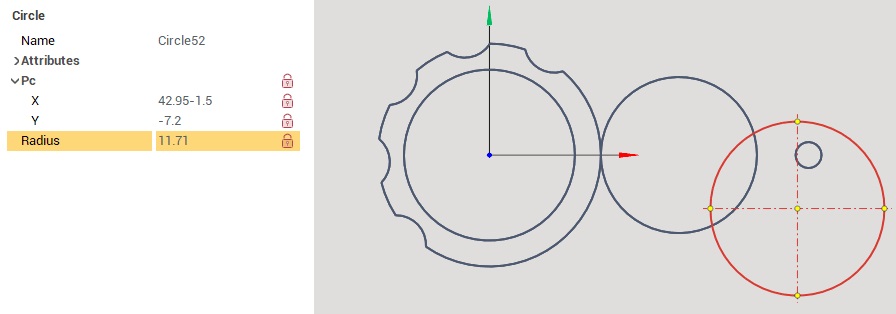
The following circle is the base of an arc with a radius of 11.71:
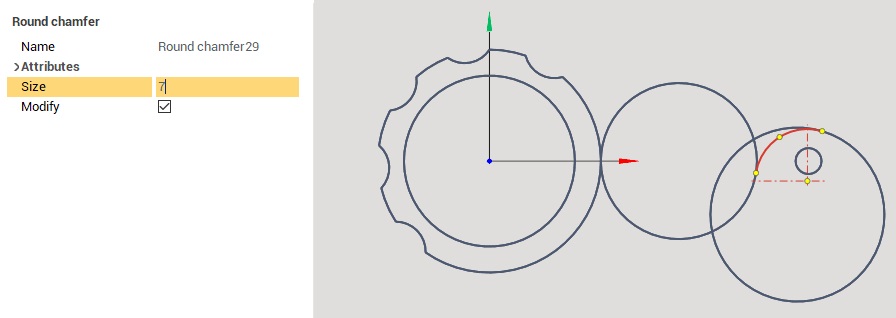
Turn on the construction of the rounding  and build an arc with a radius of 7:
We got this:
Turn on trim mode and remove two extra fragments:
The result will be the following:
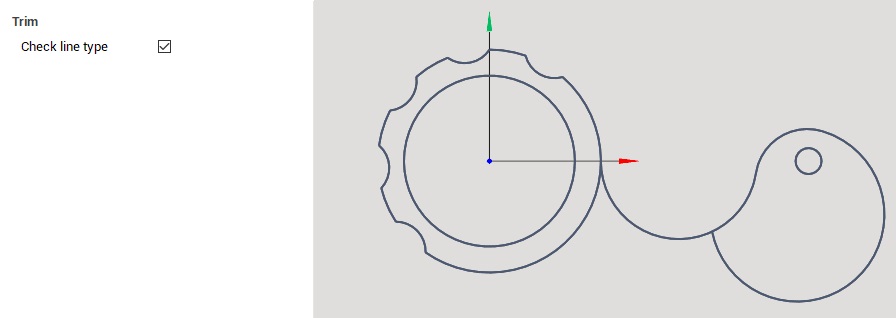
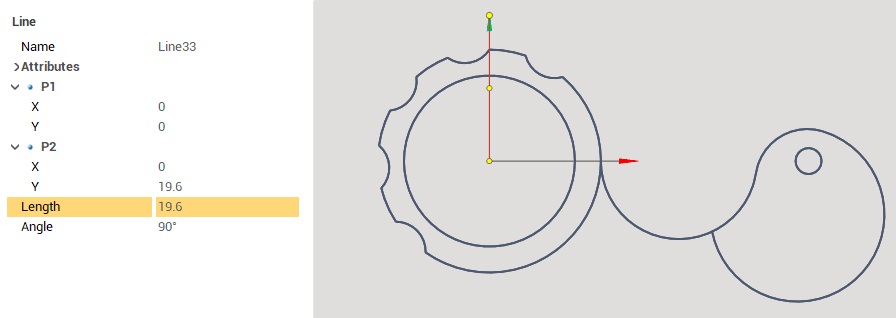
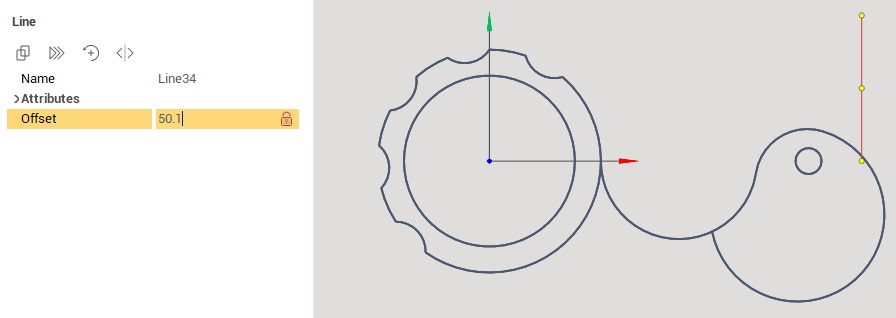
Build a vertical line:
Turn on the construction of equidistant  and build a line parallel to the previous one at a distance of 50.1:
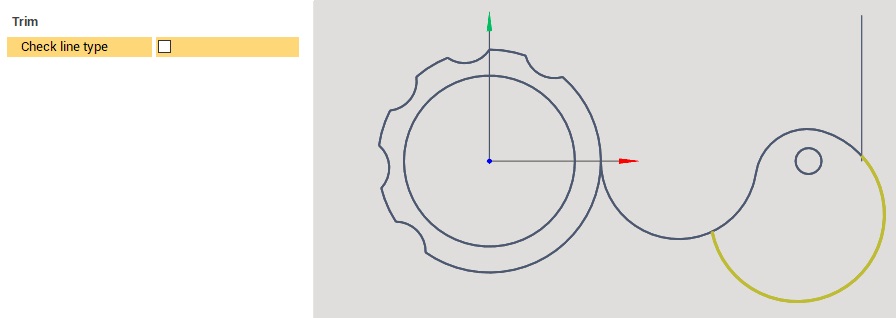
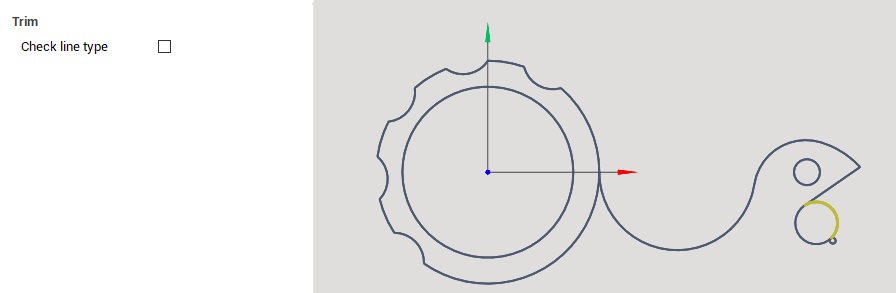
Turn on clipping and remove the excess part of the arc, having previously disabled the <Check line type> field in the inspector:
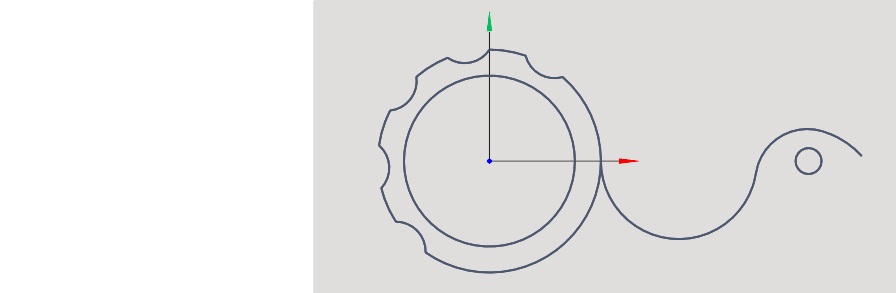
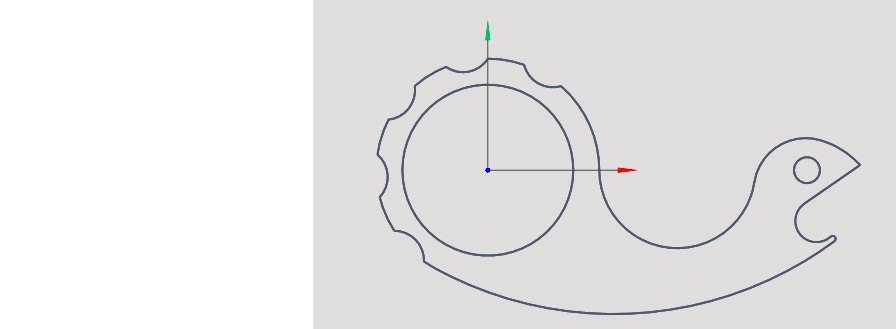
After that, we delete both time lines and we have the following result:
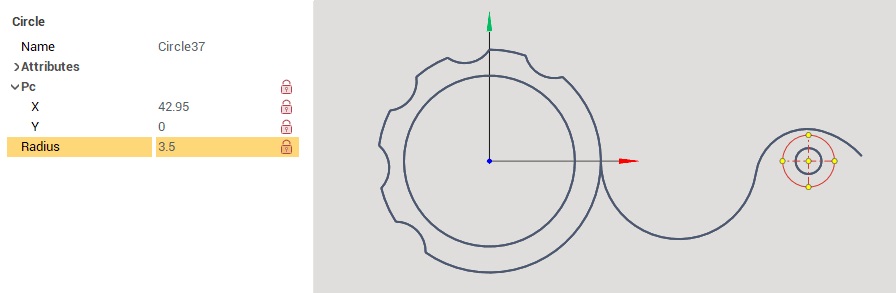
Now we build an auxiliary circle with a center at the point 42.95, 0 and a radius of 3.5:
And then a line tangent to this circle, pressing [Ctrl] before selecting and connecting to the extreme arc:
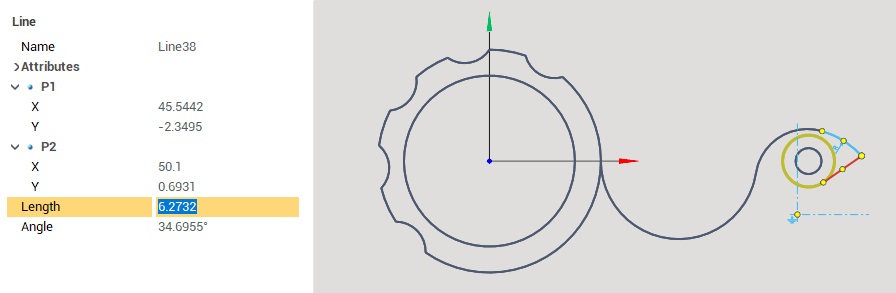
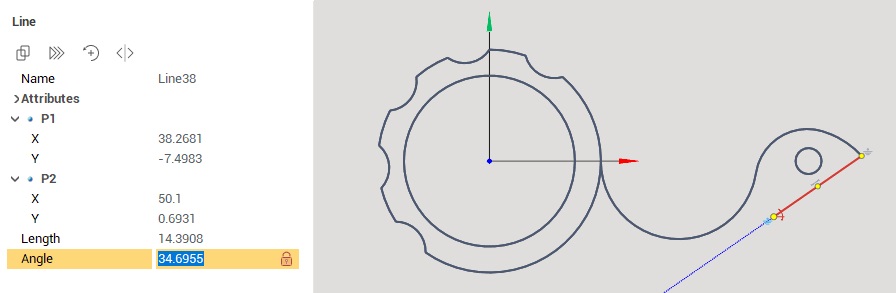
Delete the auxiliary circle, select the resulting line and fix the angle and lengthen it:
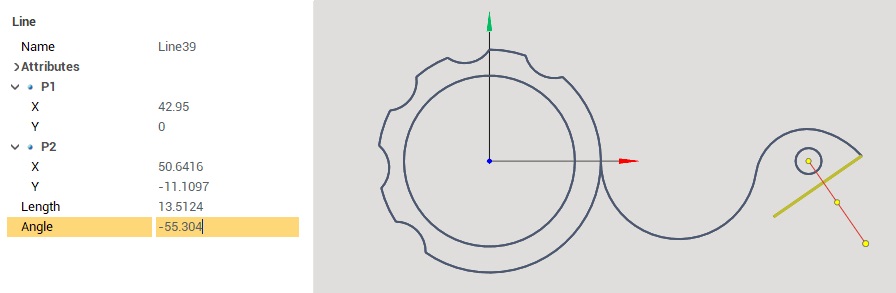
Next, we build another auxiliary line with a center from a small circle and perpendicular to the resulting line, for which we hover over the line with [Ctrl] pressed:
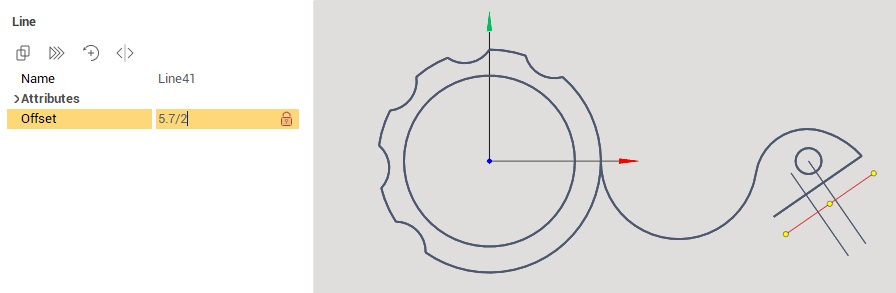
Turn on the construction of equidistant and build a line at a distance of 2.85 from it:
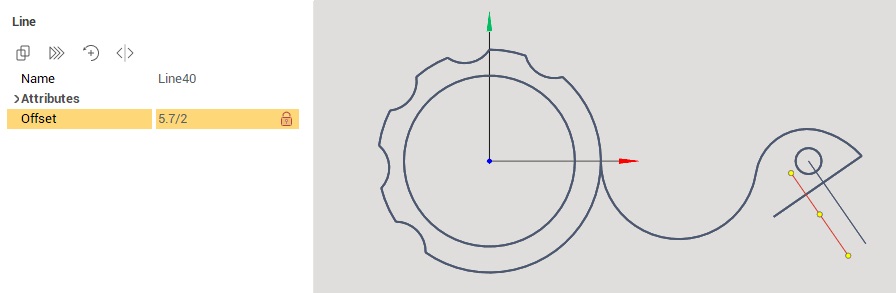
And another one at the same distance:
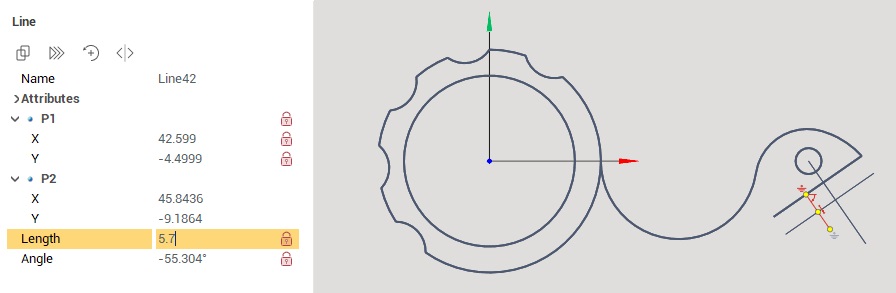
We correct the previous line, after fixing the angle in such a way that it remains on its line and has a length of 5.7:
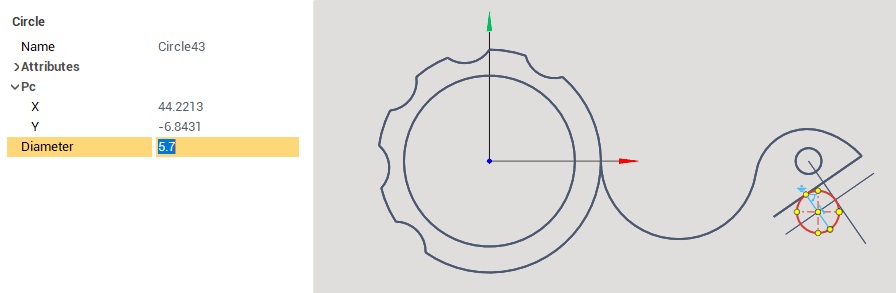
We build a circle according to the received element:
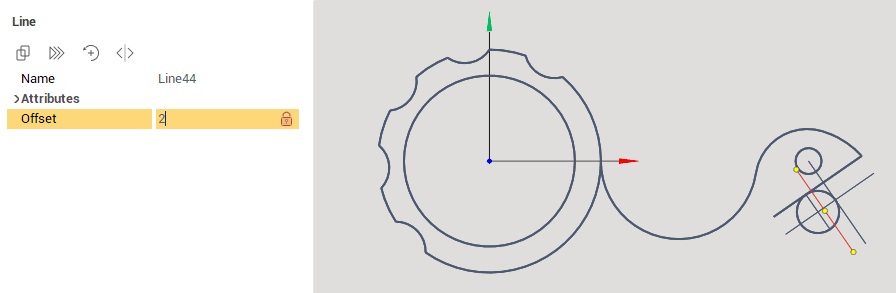
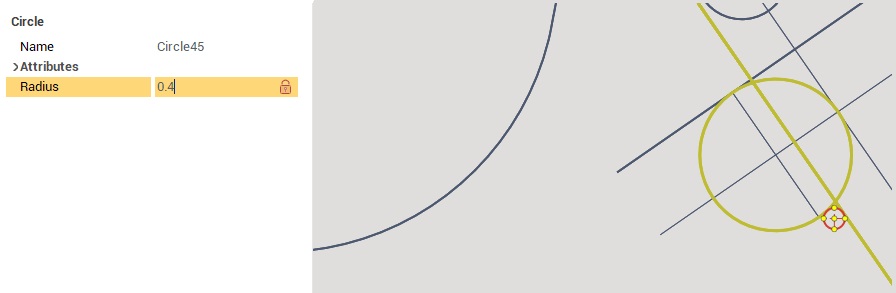
We construct another equidistant line:
And a circle tangent to a circle and a line with a radius of 0.4:
Unnecessary more auxiliary elements are deleted, the excess is cut off:
We build another circle, tangent to the previously constructed ones, with a radius of 50:

We cut off the extra sections of the circles and get the required figure:
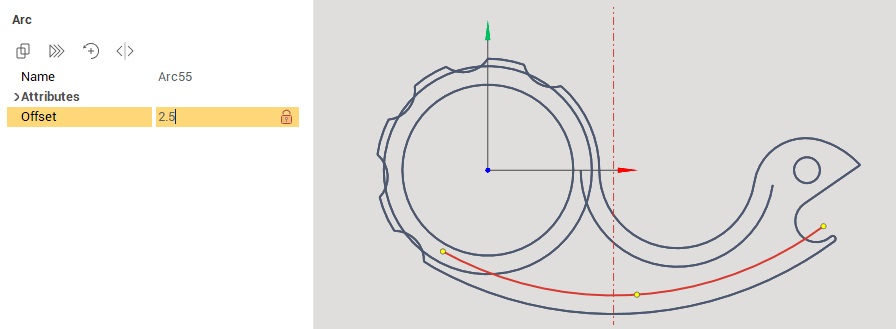
To build the inner figure, we build three equidistant arcs with a distance of 2.5 from the original ones:
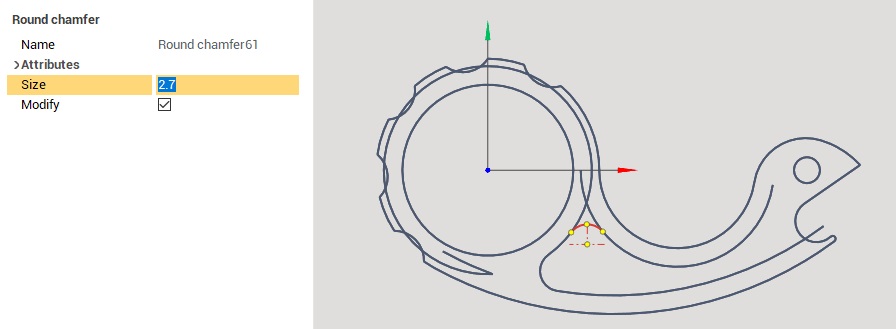
Turn on the construction of the rounding
and specify two elements with a size of 2.7:
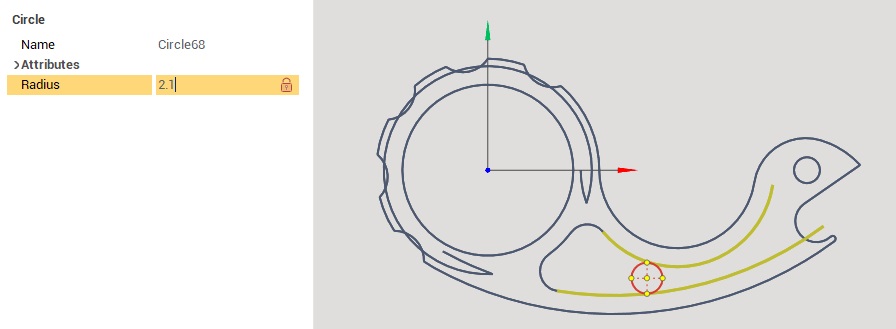
We construct the last element as a circle tangent to two arcs and with a radius of 2.1:
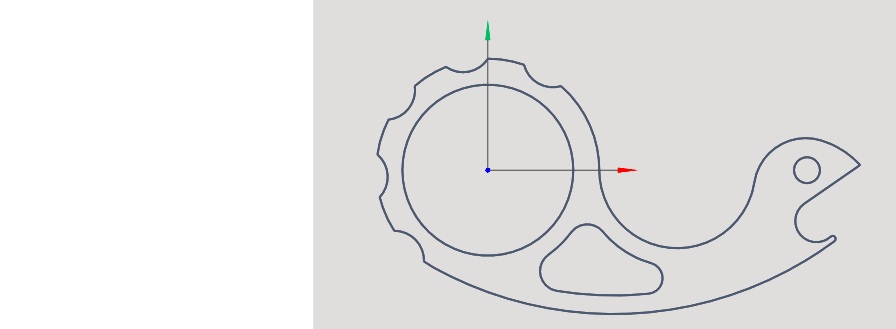
Delete trim elements and cut off unnecessary parts of the arcs, this completes the construction:
And our drawing after dimensioning: