Using design features in Engraving/Pocketing operation
It is possible to create <2D Contouring>, <2D Pocketing> and <Engraving> operations that generate toolpath on a base surface. As a base surface you can use planes, cylinders and revolution surfaces. The base surface is specified in the <Job assignment> of a pocketing/engraving operation. You can use existing 3d model surfaces as a base surface. If you do so you also can add surfaces connected to the base surface as job assignment items pockets and bosses. This facility is very useful for letter engraving.
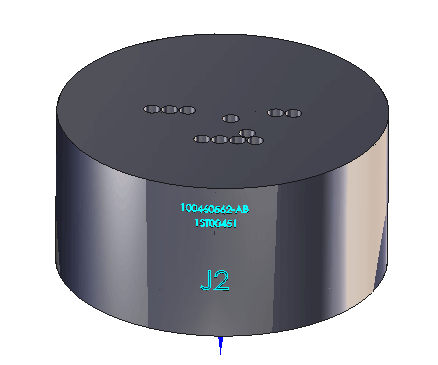
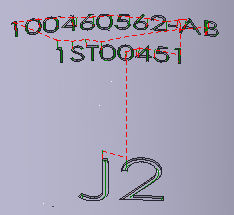
Let's look at the picture bellow. You can see a cylindrical part with a text on the outer diameter. We will engrave this text:
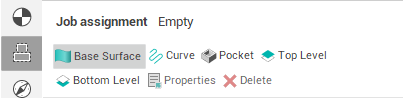
To accomplish this task we create a new engraving operation and press the <Base surface> button at the <Job assignment> panel of the operation:
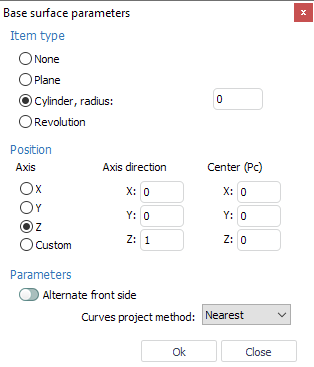
The base surface parameter dialog appears. We select the outer diameter as the base surface by simple click on it in the graphic view.
Than we close the dialog and select the letters we want to v-carve by double click on one of the letters in the graphic view.
After that we add selected surfaces into the <Job assignment> by pressing the <Add pocket> button:

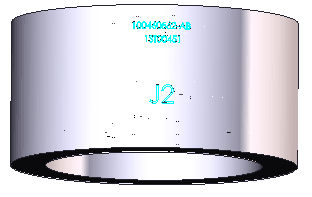
After setting parameters of the operation and generating toolpath we will see the following picture:
See also:
4-axis milling with using of the engraving and pocketing operations
Job assignment for engraving and pocketing operations