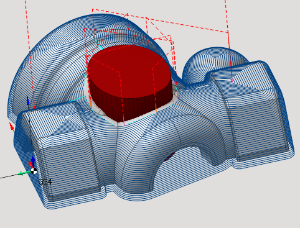
Scallop finishing operation
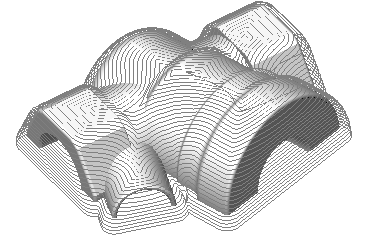
The Scallop toolpath starts from the curves lying on the part surfaces and is generated by repeatedly offsetting those curves inwards until the curves collapse. So basically it is an equidistant toolpath except that the offset is made in 3d space on the machining surfaces. The toolpath achieves a consistent scallop height regardless of the steepness of machining surfaces. Another advantage is the minimal amount of linking moves together with respected climb/conventional milling type. The operation is best suited for semi-finishing and finishing.
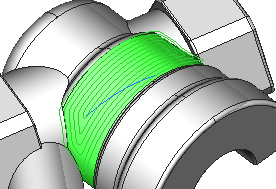
Starting curves
There are two options currently available:
start from the bottom, and
start from the top of vertical walls.
For the first option the toolpath starts at the bottom level of machining, for the second option the toolpath starts from the silhouette curves.
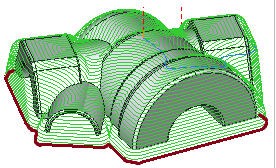
Job assignment
You can specify machining surfaces in the job assignment. The starting curves will be detected as the curves of contact of the cutter with those surfaces in this case.
You can also use the Job Zone to define the starting curves.
You also can add Restrict Zones with determine restricted or cutted toolpath depending on the option you choose.
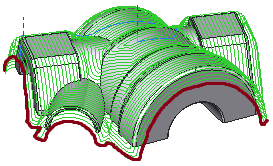
Strategies
The toolpath can be generated both from the inside out and vice-versa, from the outside in.
It is possible to generate a spiral toolpath instead of parallel passes to minimize linking.
It is possible to smooth sharp corners in the toolpath.