Developing a custom interpreter in (.NET) C#
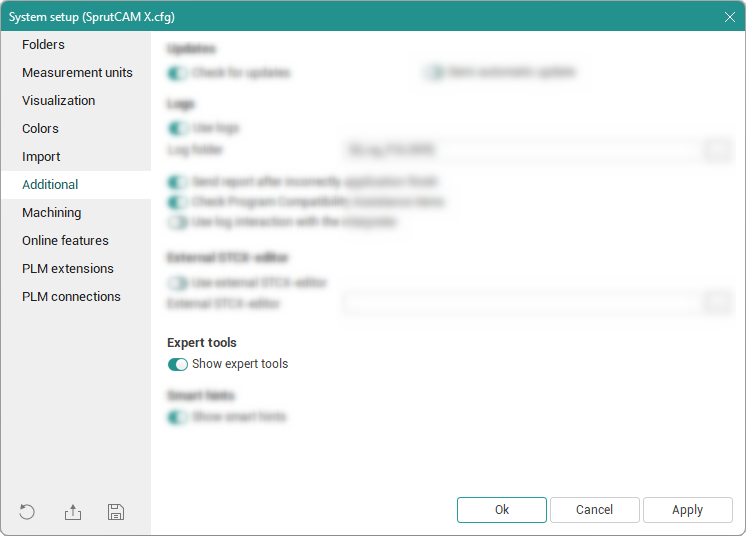
To create custom G-code interpreters based on .NET (C#), it is recommended to use a special tool. It is located in the utilities menu and is displayed when the Show expert tools option is enabled in the system settings.
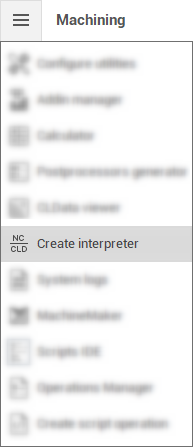
When you click on the Create Interpreter option in the menu, the corresponding window will appear:
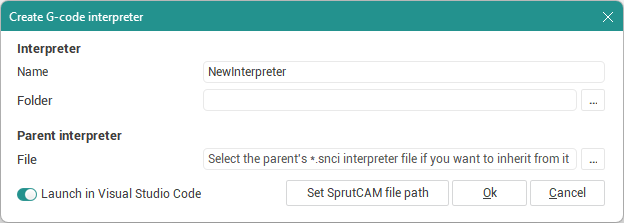
You only need to fill in a few parameters in this window, based on which template will be prepared for your interpreter:
Name — the name of the interpreter you are developing;
Based on this name, a directory with an identical name is created, which will contain all the source files of the new interpreter.
Folder — the directory where the folder of your interpreter will be located (you can enter a value manually or use the dialog box to select a directory by clicking on the corresponding button
 ).
).File — the full path to the settings file of the parent interpreter (*.snci), which you want to inherit from (optional field).
After filling in all the necessary parameters, click the <Ok> button. As a result, a folder with the name of the interpreter will be created in the directory you specified, and this directory will immediately open in Visual Studio Code (if the corresponding switch was active at that time).
Visual Studio Code must be pre-installed on the computer.